Learn With Reshu is here to help you all to get new Technological ideas and knowledge. I will try to create blogs on all technical topics and new tricks and tips. please do like share and subscribe Learn with Reshu to encourage me more for creating good help to others.
Thanks,
Best Regards
#learnwithReshu
Advanced Java Programming Advanced Java Programming :- Introduction to advance java As most of us already know that if we want to make normal applications it can be easily built using core Java concepts. But, when it we need to develop web applications, advanced Java fundamentals, like JSP, Servlets, JDBC etc. needed, so to add capabilities and features of the application advance java is essential for developers. Through the motive of this blog is to explain about Advanced Java, I will be giving you a complete insight into the fundamental concepts of Advance Java. Figure - 1.2 If you want to see complete video on this please have a look the video below. Learn with Resh u Advanced Java Programming Course ...
Get link
Facebook
X
Pinterest
Email
Other Apps
Encapsulation in java
Get link
Facebook
X
Pinterest
Email
Other Apps
-
Encapsulation
in java
Encapsulation
The meaning of Encapsulation, is to make sure that "sensitive" data is hidden from users. To achieve this, you must:
declare class variables/attributes as private
provide public get and set methods to access and update the value of a private variable
Get and Set
You learned from the previous blogs that private variables can only be accessed within the same class (an outside class has no access to it). However, it is possible to access them if we provide public get and set methods.
The get method returns the variable value, and the set method sets the value.
Syntax for both is that they start with either get or set, followed by the name of the variable, with the first letter in upper case:
Example
package com.encapsulation.examples;

public class MyEncapsulation {

  private String name;
  private String idNum;
  private int age;

 public String getName() {
  return name;
 }

 public void setName(String name) {
  this.name = name;
 }

 public String getIdNum() {
  return idNum;
 }

 public void setIdNum(String idNum) {
  this.idNum = idNum;
 }

 public int getAge() {
  return age;
 }

 public void setAge(int age) {
  this.age = age;
 }

}
public class Test {

 public static void main(String args[]) {

  MyEncapsulation me = new MyEncapsulation();

  me.setAge(50);

  me.setIdNum("AB123");

  me.setName("Reshu");

  System.out.println("Name : " + me.getName() + " Age : " + me.getAge() + " Id : "+ me.getIdNum());


 }
Example explained
The get method returns the value of the variable name.
The set method takes a parameter (name) and assigns it to the name variable. The this keyword is used to refer to the current object.
However, as the name variable is declared as private, we cannot access it from outside this class:
Example
publicclass Test{
publicstaticvoidmain(String[] args){
MyEncapsulation me = new MyEncapsulation();
me.name ="John";// errorSystem.out.println(me.name);// error }}
If the variable was declared as public, we would expect the following output:
John
but, as we try to access a private variable, we get an error:
Test.java:4: error: name has private access in MyEncapsulation             me.name = "John";

  ^

Test.java:5: error: name has private access in MyEncapsulation

System.out.println(me.name);                                                                    ^

2 errors
Instead, we use the getName() and setName() methods to acccess and update the variable:
Example
publicclassTest{publicstaticvoidmain(String[] args){
MyEncapsulation me = new MyEncapsulation();
me.setName("John");// Set the value of the name variable to "John"System.out.println(me.getName());}}// Outputs "John"
Why Encapsulation?
Better control of class attributes and methods
Class attributes can be made read-only (if you only use the get method), or write-only (if you only use the set method)
Flexible: the programmer can change one part of the code without affecting other parts
Increased security of data
For Complete Explanation of this topic in hindi Please visit My Youtube Channel
Running and Building Gradle with Different JDKs - Sip of Java If you are using Gradle as the build tool for your projects and want to work with the latest JDK releases or early-access builds, you might think you are stuck until Gradle supports those versions of the JDK, which might take a few months. However, that’s not the case, and we will explore in this article how to run Gradle with one JDK version while building and testing with a different JDK version. Managing Multiple JDKs When working with multiple JDKs, using a tool like SDKMan or Jenv (for macOS) is highly recommended. These tools enable you to easily manage and switch between your local JDKs. This article assumes that you have multiple JDKs installed on your system: one for running Gradle, and the other for executing the tasks in the build. Be sure that the JDK installed to run Gradle is supported by Gradle. As of the time of this article, the latest Gradle version is 7.6 which supports JDK 19. Configuring the Toolch...
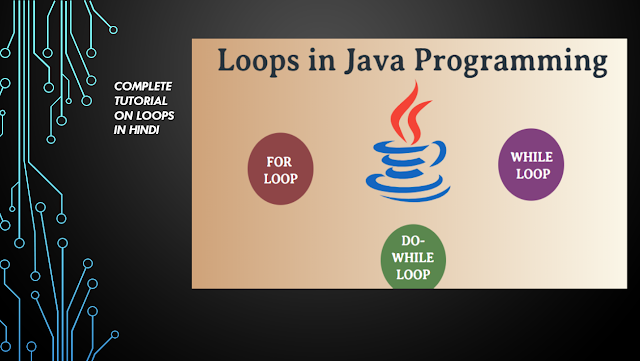
LOOPS IN JAVA WITH EXAMPLE CODE In programming languages, loops are used to execute a set of instructions/functions repeatedly when some conditions become true. There are three types of loops in Java. for loop while loop do-while loop Java For Loop vs While Loop vs Do While Loop Java For Loop The Java for loop is used to iterate a part of the program several times. If the number of iteration is fixed, it is recommended to use for loop. There are three types of for loops in java . Simple For Loop For-each or Enhanced For Loop Labeled For Loop Example: 01. Simple For Loop //Java Program to demonstrate the example of for loop //which prints table of 1 public class ForExample { public static void main(String[] args) { //Code of Java for loop ...
If you are trying to make a maven project from existing source and when you choose import project and its not importing may be their is a reason that your jdk version in Settings->Builds->build tools->maven->importing is not the version compatible with the version you are using for maven in intelij.


Comments
Post a Comment
Please do not comment any spam link in the comment box